TM 5-3820-245-14&P
C. Valve Section Disassembly and Reassembly
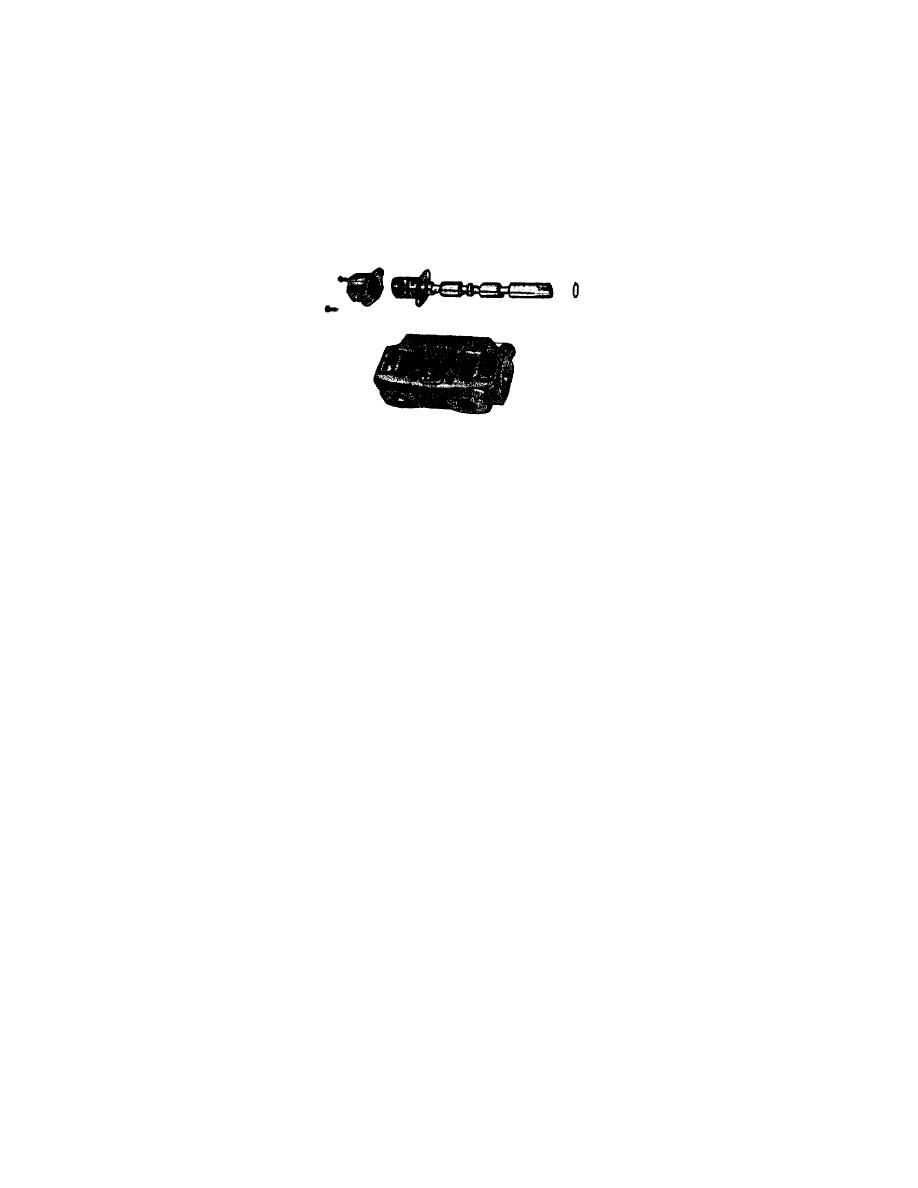
1. To disassemble valve section, (double acting and double acting free flow), remove two cover screws. See
Figure 6-20, Item #1.
Remove dust cap, pull spool out of housing. Inspect spool for nicks, cuts, or galling. Inspect housing for
cracks and excessive wear in spool passage. If spool or spool housing shows signs of excessive wear, it is
necessary to replace valve assembly. With a sharp pointed tool, remove O-Rings from housing on lever
end. Clean all parts before reassembly. See Figure 6-4.
Figure 6-20. CONTROL VALVE BANK SECTION DISASSEMBLY
CAUTION
Excessive wear or galling in either spool or spool bore will
require replacement of valve assembly. Spool and housing
not serviced separately.
To reassemble, install new O-Rings in valve housing (see Parts Manual for part numbers) with lever down.
Coat all O-Rings with vasoline or lubricant before installing. Install O-Ring and backup O-Ring on spool.
Coat spool and inside of housing with a light coat of lubricating oil. Install spool in housing, taking care not
to cut O-Ring in housing. Install O-Ring over spool and seat O-Ring boss in housing. Install backup
washers, retainer plate and end cap. Torque end capscrews to approximate 35 inch pounds.
2. Overhaul procedure for inlet valve section, (see Figure 6-19). To disassemble, remove plugs from working
ports. Remove relief cartridge from body assembly by unscrewing the complete cartridge from body, (see
Figure 6-21). Remove all O-Rings. Clean both mounting faces using fine emery cloth. Clean body with
solvent and blow dry with compressed air.
PAGE 69


